基礎觀念
建立你的第一個應用程式
SEARCH ENGINE OPTIMIZATION
- Introduction to SEOCrawling and IndexingRendering and RankingPerformance & Core Web VitalsImproving your Core Web Vitals
- Lighthouse
- Image Optimization
- Dynamic Imports
- Dynamic Imports for Components
- Optimizing Fonts
- Optimizing Third-Party Scripts
EXCEL
靜態資源、詮釋資料 和 CSS
拋光佈局(Polishing Layout)
到目前為止,我們只添加了最少的 React 和 CSS 程式碼,僅是為了說明 CSS 模組等概念。在我們進入下一課程即關於資料抓取(data fetching)的課程之前,讓我們優化頁面的樣式和程式碼。
更新 components/layout.module.css
首先,開啟 components/layout.module.css,並將其內容替換為以下更精緻的佈局和個人資料圖片樣式:
.container {
  max-width: 36rem;
  padding: 0 1rem;
  margin: 3rem auto 6rem;
}

.header {
  display: flex;
  flex-direction: column;
  align-items: center;
}

.backToHome {
  margin: 3rem 0 0;
}
建立 styles/utils.module.css
其次,讓我們建立一組用於排版和其他跨多個元件的實用 CSS 類別。
新增一個名為 styles/utils.module.css 的新 CSS 檔案,其內容如下:
.heading2Xl {
  font-size: 2.5rem;
  line-height: 1.2;
  font-weight: 800;
  letter-spacing: -0.05rem;
  margin: 1rem 0;
}

.headingXl {
  font-size: 2rem;
  line-height: 1.3;
  font-weight: 800;
  letter-spacing: -0.05rem;
  margin: 1rem 0;
}

.headingLg {
  font-size: 1.5rem;
  line-height: 1.4;
  margin: 1rem 0;
}

.headingMd {
  font-size: 1.2rem;
  line-height: 1.5;
}

.borderCircle {
  border-radius: 9999px;
}

.colorInherit {
  color: inherit;
}

.padding1px {
  padding-top: 1px;
}

.list {
  list-style: none;
  padding: 0;
  margin: 0;
}

.listItem {
  margin: 0 0 1.25rem;
}

.lightText {
  color: #666;
}
更新 components/layout.js
第三,開啟 components/layout.js,並將其內容替換為以下程式碼,更改 Your Name 為你的名稱:
import Head from 'next/head';
import Image from 'next/image';
import styles from './layout.module.css';
import utilStyles from '../styles/utils.module.css';
import Link from 'next/link';

const name = 'Your Name';
export const siteTitle = 'Next.js Sample Website';

export default function Layout({ children, home }) {
  return (
    <div className={styles.container}>
      <Head>
        <link rel="icon" href="/favicon.ico" />
        <meta
          name="description"
          content="Learn how to build a personal website using Next.js"
        />
        <meta
          property="og:image"
          content={`https://og-image.vercel.app/${encodeURI(
            siteTitle,
          )}.png?theme=light&md=0&fontSize=75px&images=https%3A%2F%2Fassets.vercel.com%2Fimage%2Fupload%2Ffront%2Fassets%2Fdesign%2Fnextjs-black-logo.svg`}
        />
        <meta name="og:title" content={siteTitle} />
        <meta name="twitter:card" content="summary_large_image" />
      </Head>
      <header className={styles.header}>
        {home ? (
          <>
            <Image
              priority
              src="/images/profile.jpg"
              className={utilStyles.borderCircle}
              height={144}
              width={144}
              alt=""
            />
            <h1 className={utilStyles.heading2Xl}>{name}</h1>
          </>
        ) : (
          <>
            <Link href="/">
              <Image
                priority
                src="/images/profile.jpg"
                className={utilStyles.borderCircle}
                height={108}
                width={108}
                alt=""
              />
            </Link>
            <h2 className={utilStyles.headingLg}>
              <Link href="/" className={utilStyles.colorInherit}>
                {name}
              </Link>
            </h2>
          </>
        )}
      </header>
      <main>{children}</main>
      {!home && (
        <div className={styles.backToHome}>
          <Link href="/">
            ← 回到首頁
          </Link>
        </div>
      )}
    </div>
  );
}
以下是新內容:
meta標籤(例如og:image),用於描述頁面的內容- 布林值
home屬性,用於調整標題和圖片的大小 - 如果
home為false,則在底部顯示「回到首頁」連結 - 使用
next/image新增了圖片,這些圖片使用 priority 屬性進行預加載
更新 pages/index.js
最後,讓我們更新首頁。
開啟 pages/index.js,並將其內容替換為:
import Head from 'next/head';
import Layout, { siteTitle } from '../components/layout';
import utilStyles from '../styles/utils.module.css';

export default function Home() {
  return (
    <Layout home>
      <Head>
        <title>{siteTitle}</title>
      </Head>
      <section className={utilStyles.headingMd}>
        <p>[Your Self Introduction]</p>
        <p>
          (This is a sample website - you’ll be building a site like this on{' '}
          <a href="https://nextjs.org/learn">our Next.js tutorial</a>.)
        </p>
      </section>
    </Layout>
  );
}
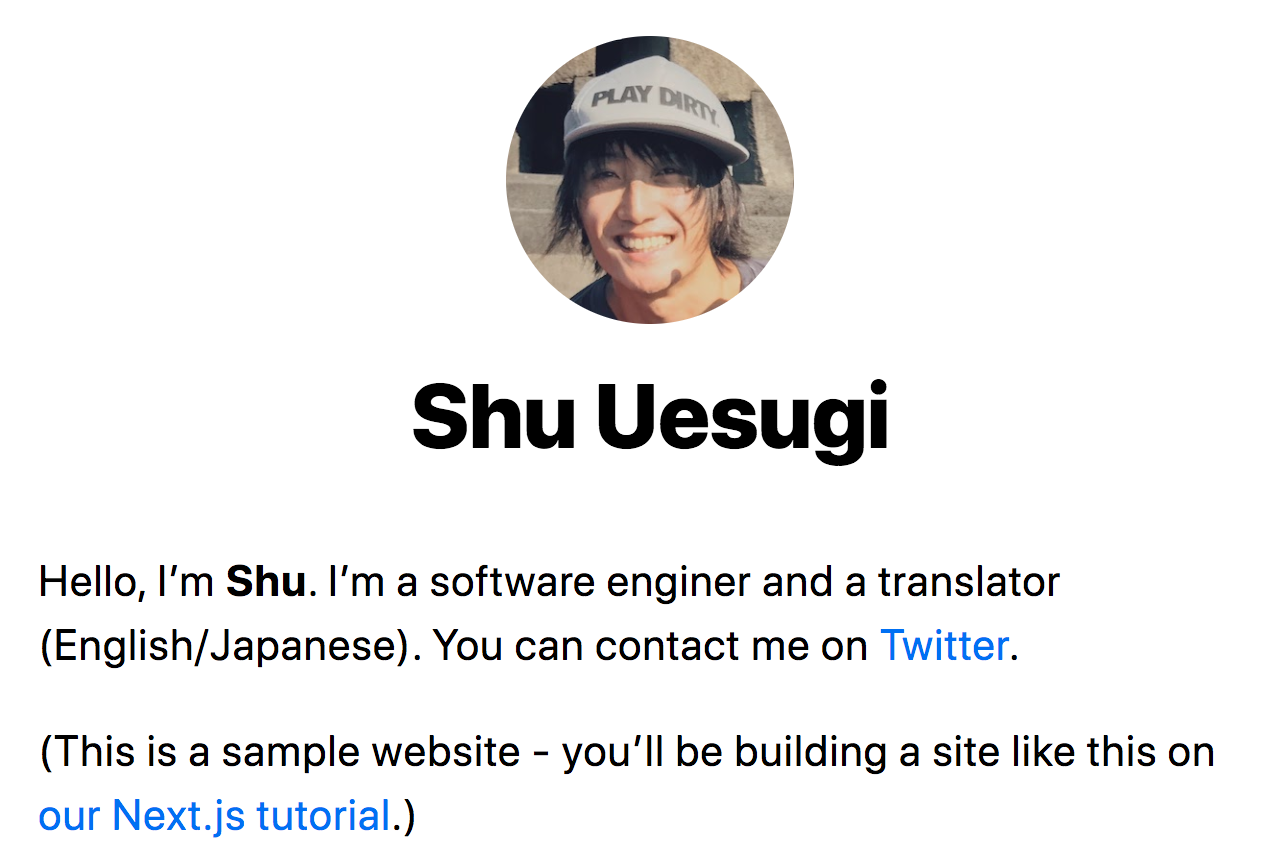
接著,將 [Your Self Introduction] 替換為你的自我介紹,以下是作者的個人資料範例:
就是這樣!我們現在有了完善的佈局程式碼,可以繼續進行資料抓取課程。
在結束此堂課之前,讓我們在下一頁討論一些與 Next.js CSS 支援相關的實用技巧。
小試身手:
為什麼 CSS 模組很有幫助?
